Happy Monday!
Our first stop on my New Apartment Tour is the kitchen, for a couple reasons:
First, it’s one of the few spaces that are basically done. 🙂
Second, it was one of the most important spaces for me to set up in order to feel like I had a functional living space.
Third, I ended up spending SO MUCH LESS than I first thought I would, and I’m super happy about that.
When I came to the showing for this apartment a couple months ago, the kitchen was fine. Worn and dated…but fine. Cramped…but fine. The cabinet door tones didn’t match each other…totally fine. Don’t get me started on the metal blinds apartment builders love to put on every window that attract grime and rust and sound like a plane crash when you try to open or close them. But it was fine.
I basically hated it.
I went home and scoured Pinterest for inspiration and read some really good advice about not fighting the space that you have, but instead seeking ways to work to with it, so, naturally, after seeing the 80s/90’s counters and cabinetry, with builder’s beige walls, I immediately thought:

(Full Disclosure: this vision was likely largely fueled as justification to buy the world’s most adorable vintage kitchen table, that had been staring out at me from FB marketplace, begging to be mine. ugh. Seeing other people’s stuff is such a dangerous side effect of selling your stuff there!!!)
So, anyway, pre-moving in, I planned out how to execute my kitschy kitchen dreams, renter-friendly style.
I had shopping carts filled all over (virtual) town with the peel and stick tile I would lay in a checkerboard pattern on the floor and as a backsplash, the best reviewed waterproof contact paper I would use to cover the brown countertops, the fabric I was going to line the cabinets with when I took the mismatched doors off. Oh, and the world’s smallest, most adorable toaster oven. In candy apple red. of course.
Admittedly, there were a couple problems with this plan –
– I HATE installing contact paper/removable wall paper. I’ve used it in cabinets, on a wall and on stair risers among other places in my last house, but it.is.a.pain.in.the.butt to install, especially for those of us that failed cutting in Kindergarten and never quite recovered.
-My virtual carts for the kitchen alone were starting to total more than my budget for the whole apartment.
-and the toaster got horrible reviews.
And, even as I dreamed of all the changes, I knew there was a high chance of it just looking like a bad halloween costume plastered over the existing space.
One morning as I was packing up to move, I sent my daughter on a mission to roam through the house and take stock of anything that would fit the robin’s egg blue, turquoise, and red color scheme I planned on using for my kitschy kitchen design.
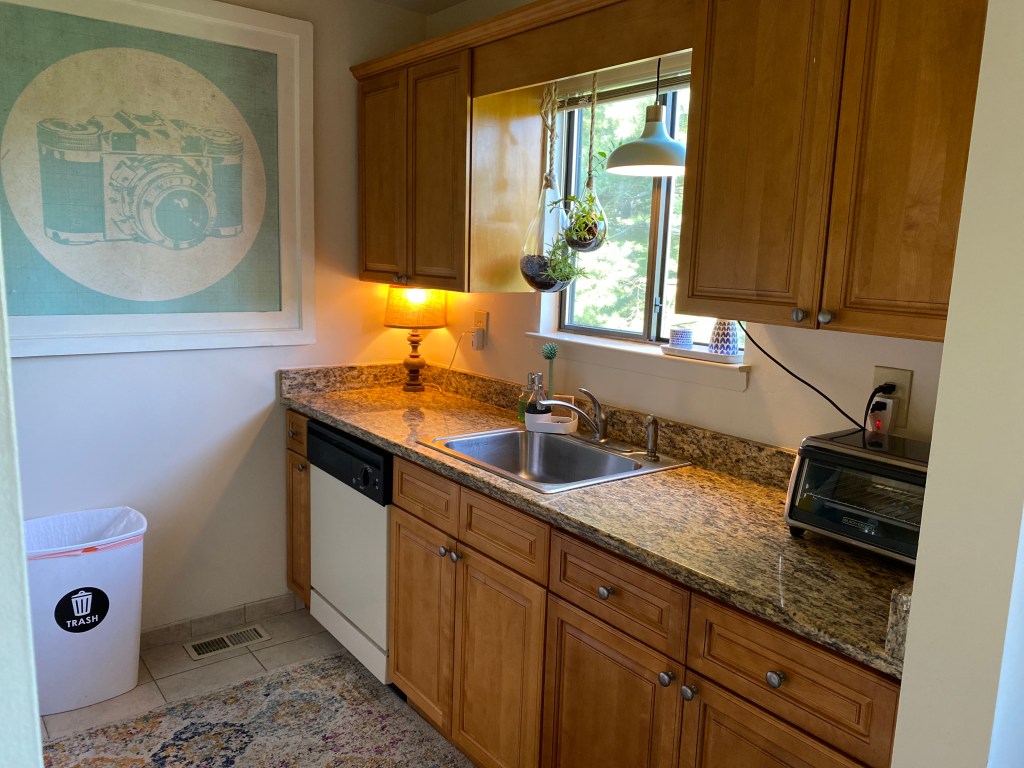
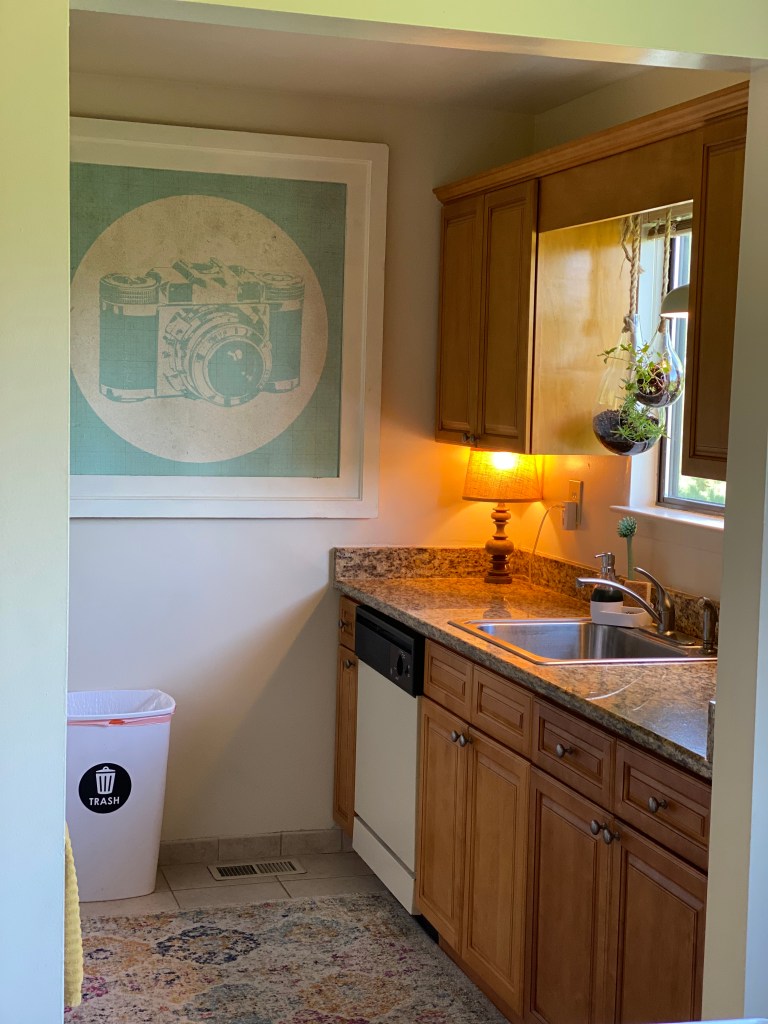
On her list was a giant framed picture of a camera that came to me as a cast-off from a conference and had traveled around my office, living room and dining room over the years. I wasn’t sure I had a good space for it in the apartment until I saw it on my daughter’s list, and realized the size could be perfect as a dramatic statement for the kitchen’s back wall.
I looked around for what else I still had that could fit the new space and found that my old entry rug was the perfect width for the kitchen floor.
Maybe I didn’t need hundreds of dollars of vintage floral oil cloth, rolls of contact paper and checkerboard flooring. (“Maybe Christmas, the grinch thought, didn’t come from a store..”)
On moving day, the rug was one of the first things I put in place. It immediately softened the bland, hard tile. The picture went up soon after, filling the back wall and only leaving an easily patched small nail hole to take care of when I move again.
Walls? check. Floors? check.
I still had every intention of pulling the doors off the cabinets and a small part of me was holding onto the idea of covering over the brown countertops, but it was getting somewhere.
In the meantime, I moved a wood and burlap table lamp into the corner for some soft lighting. I am a HUGE proponent of multiple light sources. (read: practically obsessive about multiple light sources) My sister and I know we’ve reached our design goals when our spaces have “the glow.” I originally grabbed the lamp from a box as a place holder, thinking I was going to want something just a little shorter, but I ended up loving how the colors worked with the counters and how the height made the cabinets seem a little taller.
I wanted a few more points of light, (did I mention the need for multiple types of light???) especially over the sink, but I also wanted to limit the amount of patch and paint work we need to do when moving out, so hanging lighting from the ceiling was off-limits. I also wasn’t willing to lose any more precious counter space, so the answer needed to be easily removable, suspended and sturdy.
I have a few plug in lighting options, so looked around for something that could lay across the two upper cabinets on either side of the sink that could support a hanging light.
I tried a ladder leftover over from an old bunk bed, but it was too wide. Then a cheap curtain rod, but it was too flimsy.
I was up design creek without a paddle.
That would be funny if you knew my solution was a paddle – or, more accurately, an old wooden oar.
(ok, so it’s still not funny.)
Yep, even after multiple decluttering efforts, I still have not one, but TWO old wooden oars.
One of them proved the perfect size to stretch across the gap above the sink, allowing me the space for a plug-in pendant light PLUS two hanging globes that used to hang in my bedroom window. (Our brains love things grouped in threes!)

Because the theme of the space is now “easy and already owned”, I hung the globes by just knotting the ropes, and the pendant light with a simple carabiner.
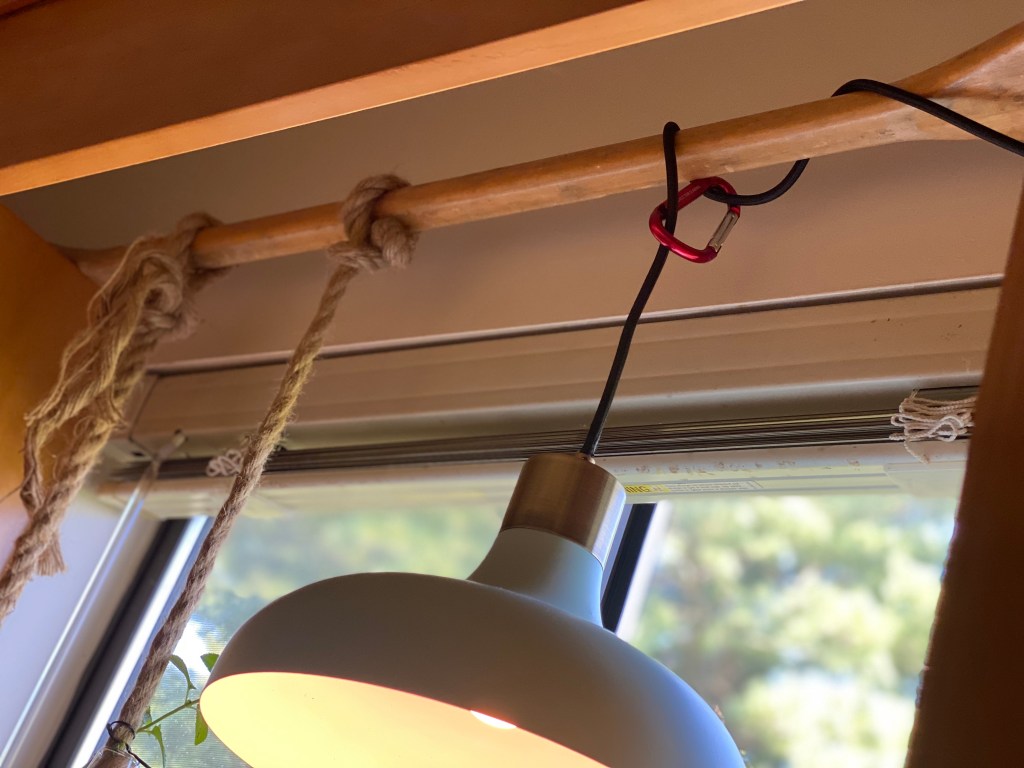
I filled the globes with a few herbs from my garden. I’ve only used them for air plants before, so I’m not sure how potted plants will do, but I added some pebbles for drainage, and mint and rosemary tend to be fairly adaptable, so I’m hopeful they’ll do well.
On the other side of the kitchen, my Kitchen-aid gets a coveted place of honor on the counter because it gets used all.the.time. and because it’s a beast to move. and store. But mostly the often-used thing.
Spices are typically happier in cool, dark places, but I finally got a spice rack I LOVE last year, and it would take up an entire shelf in my cabinet, so I’m keeping it out on the fridge. Spices I use less frequently I still hide away, these are the ones I tend to use more often.
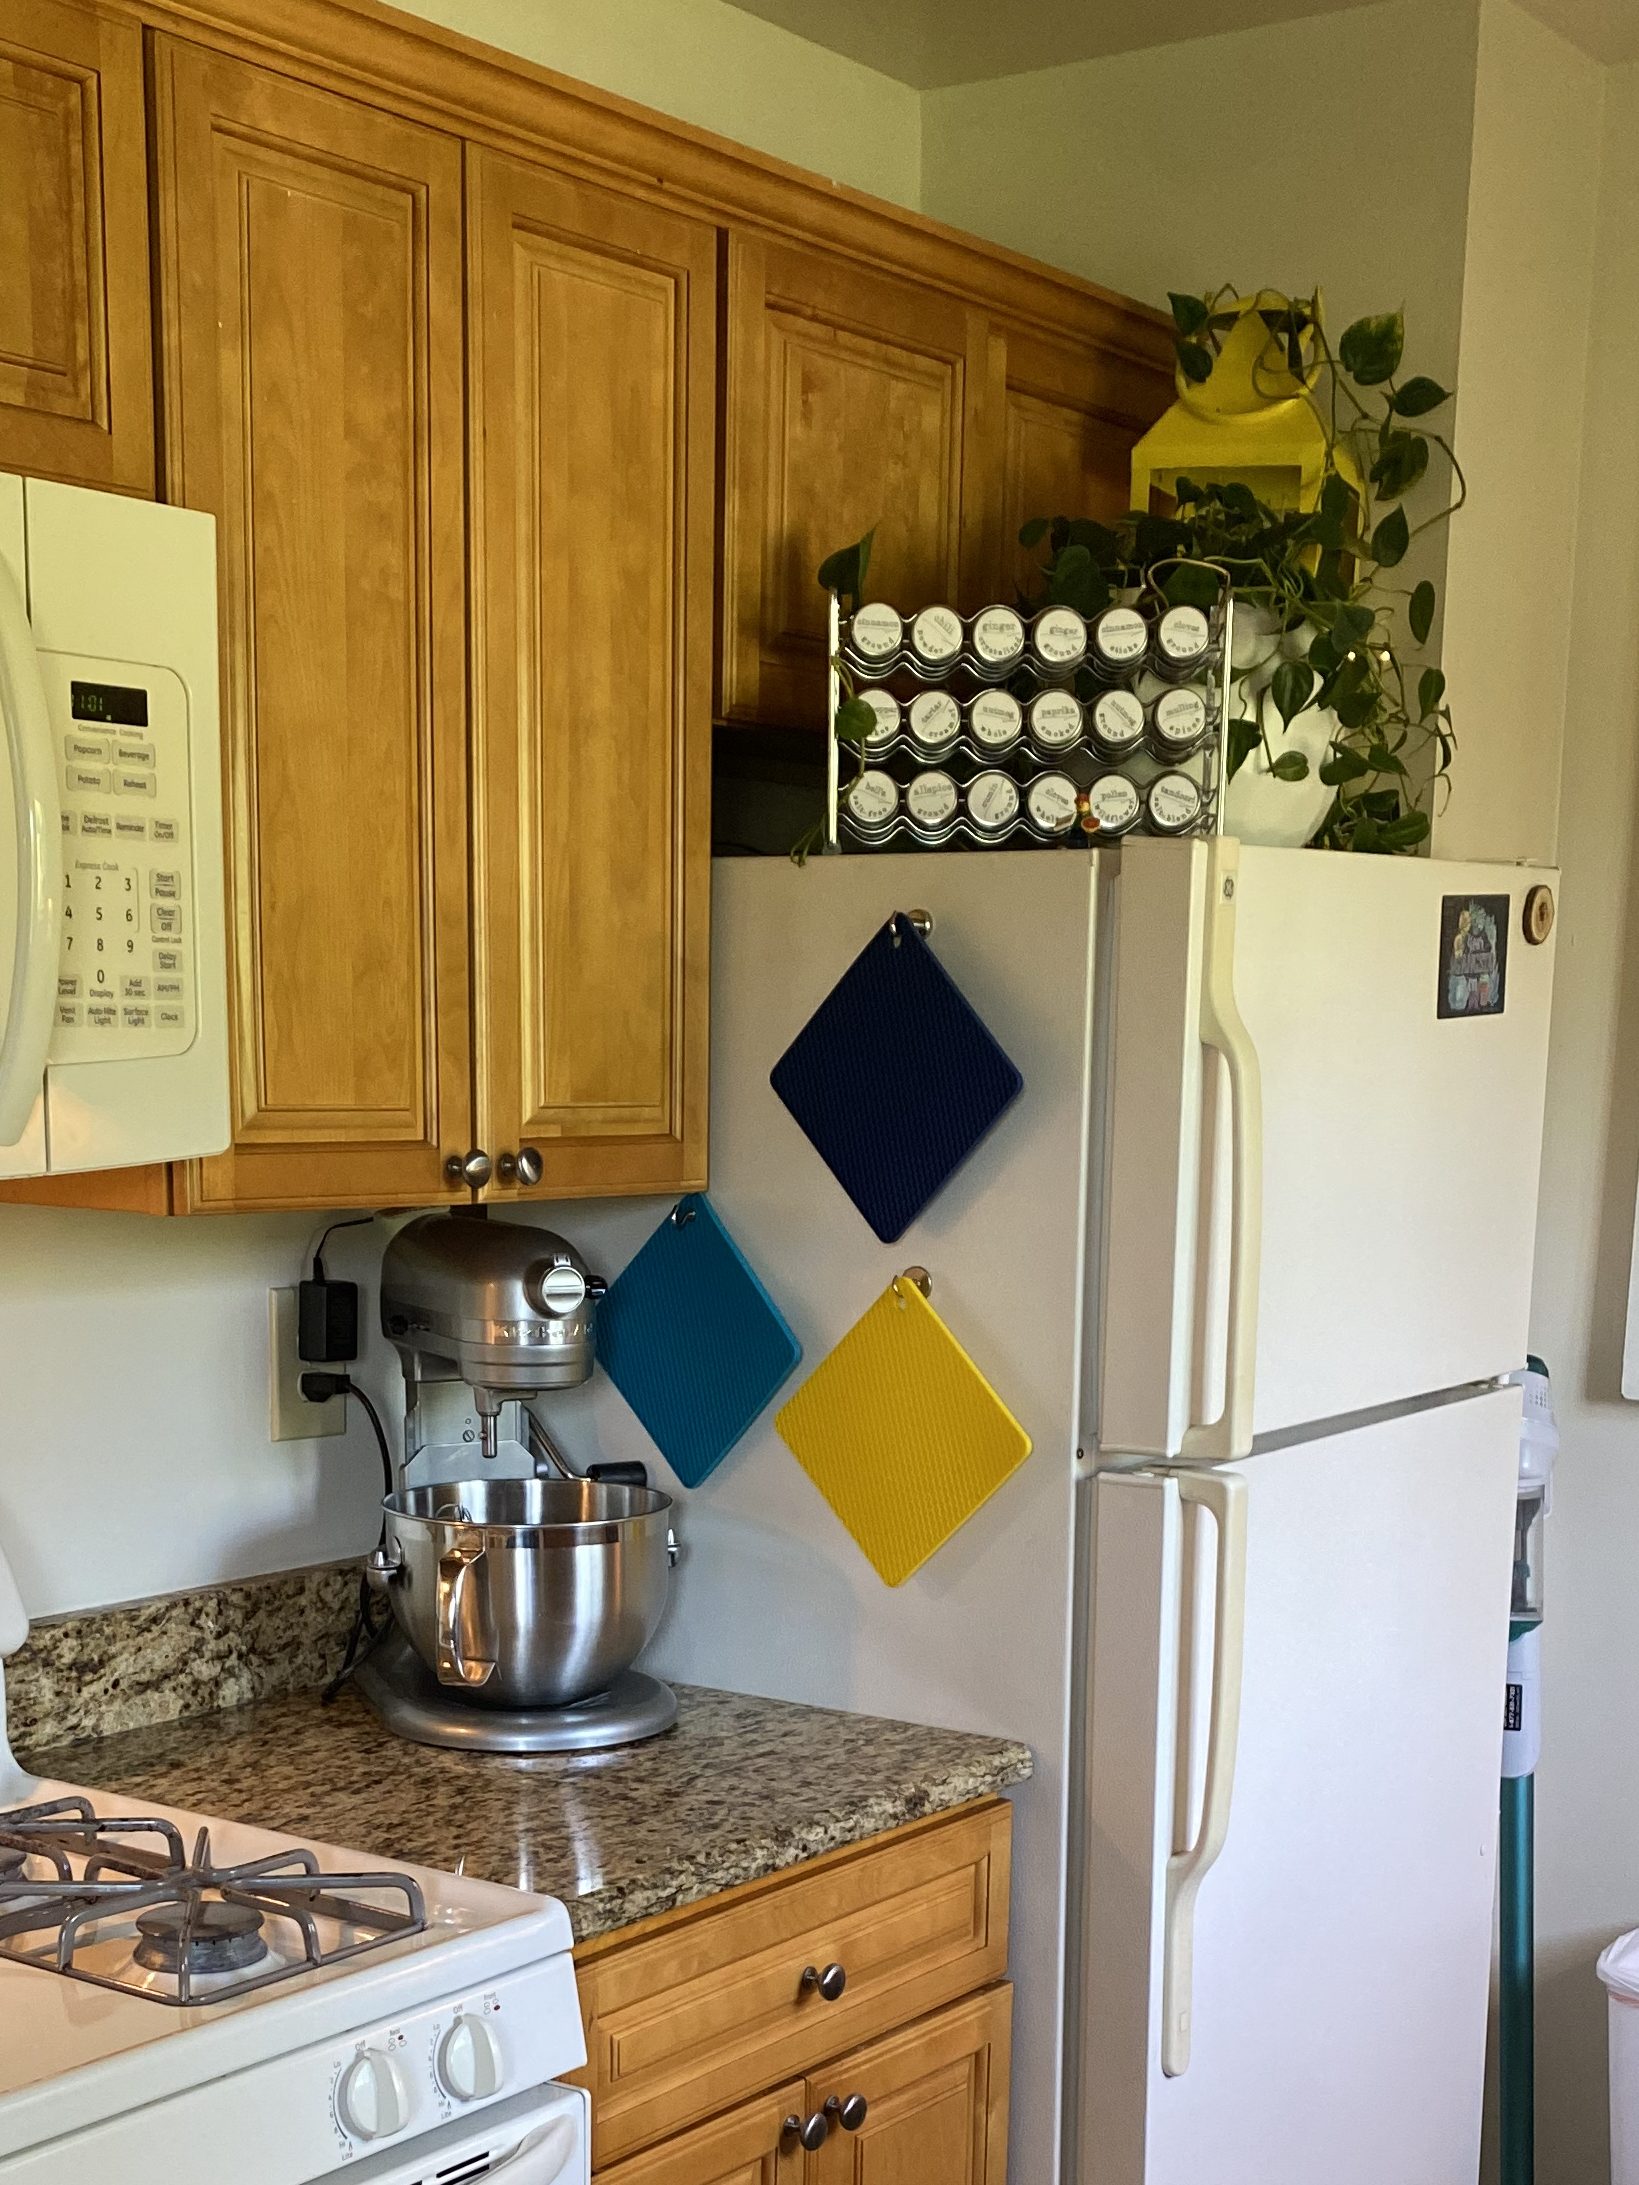
I added a lantern for color and a plant for little life and intertwined a set of fairy lights on a timer which helps that “glow” feel at night.
And that’s it!
I ended up needing a few storage containers, like for my baking supplies (my decorative glass jars from my old place just didn’t work here) but other than that, I shopped for everything from around my house, giving it new life in different spaces, and who doesn’t love “No additional cost”!!
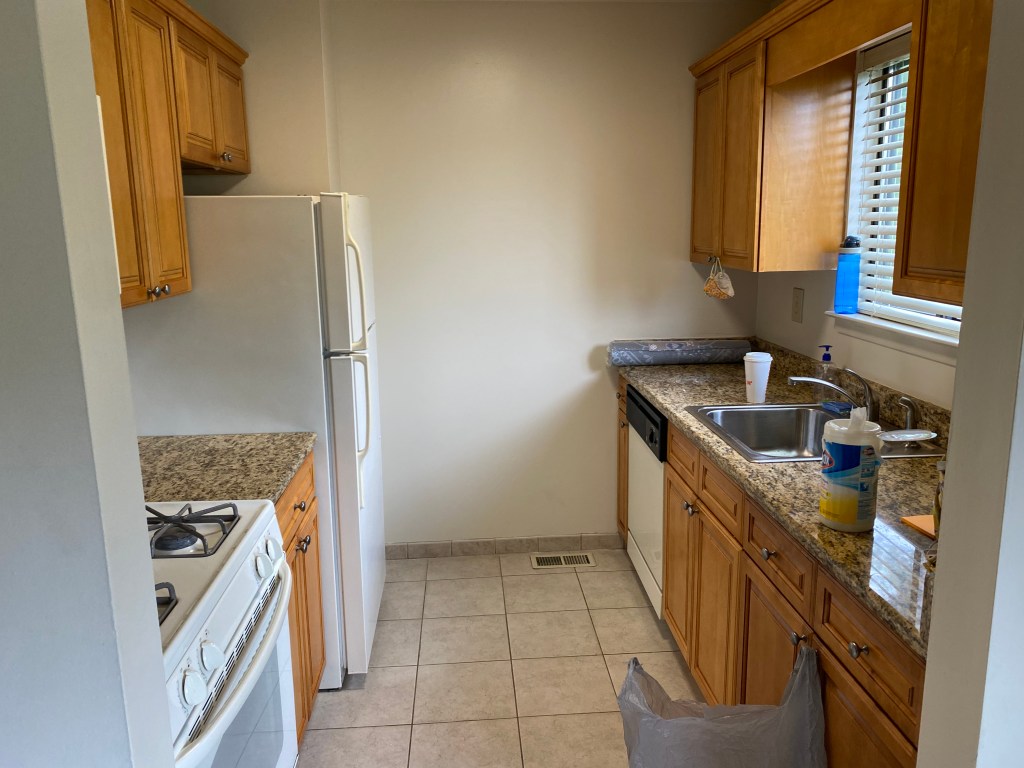
so here’s the space the day I moved in:
And here’s the space with all her re-homed treasures. And garbage cans…and vacuums and dish towels and trivets, cause we’re all about keeping it real here. 🙂
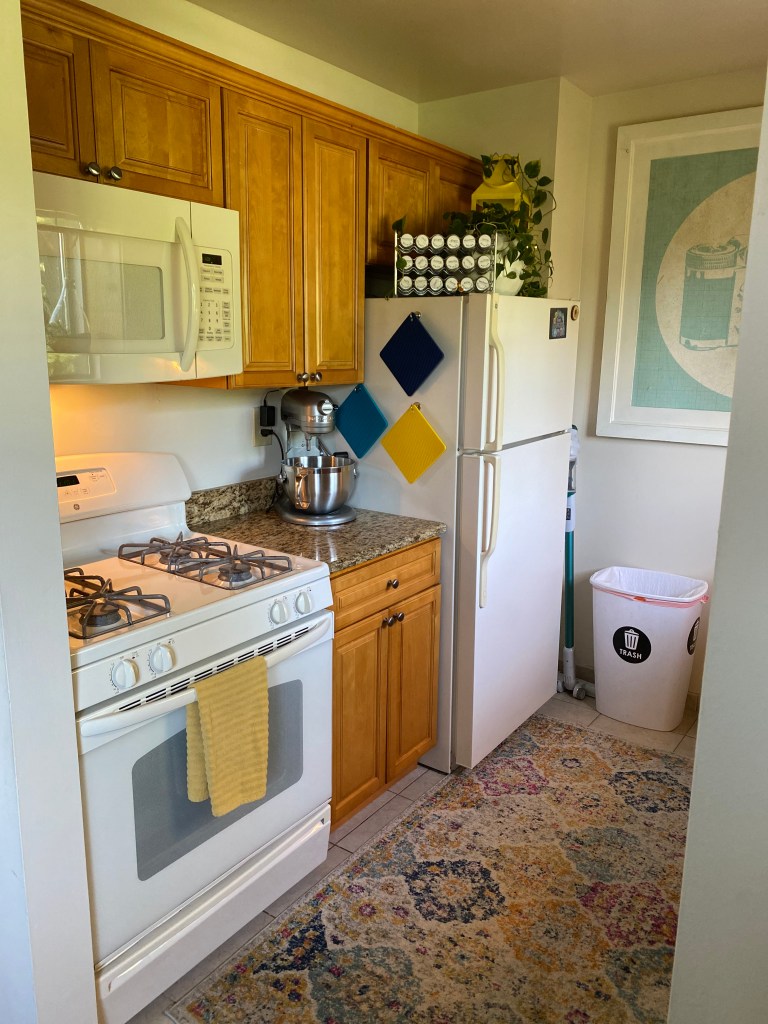
oh, and I bought a toaster oven that actually functions. Cause it’s all fun and games until you read that the world’s most adorable candy apple red toaster oven only has one setting.
Check out updates on Facebook and Instagram this week for more pictures and sign up for notifications for new posts below, so you can read next week about Where I Put All The Stuff That Doesn’t Fit In This Kitchen and so you can see the aforementioned “World’s Most Adorable Vintage Kitchen Table.” Seriously. It’s so stinkin cute.
